Route路由器
就是掌管個網站的網址連結
位置
位於APP資料夾底下的Http資料夾內的Routes.php
初始內容
打開首頁
當你在命令提示建元(CMD)中輸入
# 前往Laravel專案資料夾
cd C://..../專案資料夾

# 開啟Laravel內建伺服器
php artisan serve

# 可以看到下方出現
# Laravel development server started on http://localhost:8000/
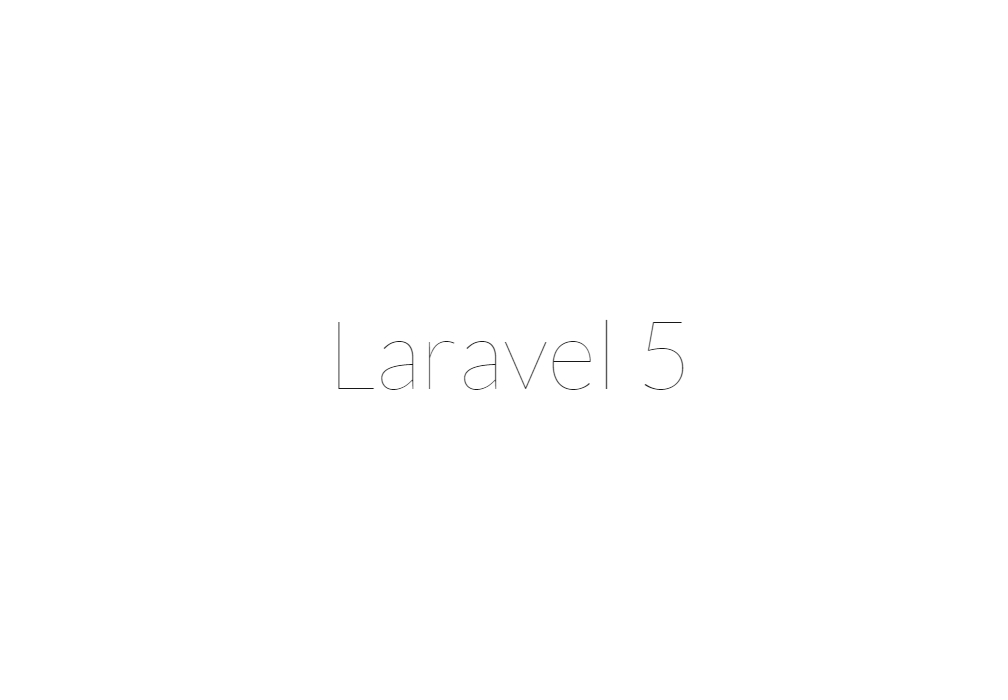
打開網頁( http://localhost:8000/ )可以看見Laravel5
PS : ctrl+C ,可以關閉伺服器,中止執行server,這要記住。
解釋
因為Laravel已經將首頁的路由設定好
Route::get('/', function () {
    return view('welcome');
});
/代表預設根目錄。
return view(welcome);
是指到resources資料夾中view資料夾中的welcome.blade.php這支php,
為何名稱中間會有blade,之後在第七章中會解釋。
<!DOCTYPE html>
<html>
    <head>
        <title>Laravel</title>

        <link href="https://fonts.googleapis.com/css?family=Lato:100" rel="stylesheet" type="text/css">

        <style>
            html, body {
                height: 100%;
            }

            body {
                margin: 0;
                padding: 0;
                width: 100%;
                display: table;
                font-weight: 100;
                font-family: 'Lato';
            }

            .container {
                text-align: center;
                display: table-cell;
                vertical-align: middle;
            }

            .content {
                text-align: center;
                display: inline-block;
            }

            .title {
                font-size: 96px;
            }
        </style>
    </head>
    <body>
        <div class="container">
            <div class="content">
                <div class="title">Laravel 5</div>
            </div>
        </div>
    </body>
</html>
可以看到就是很簡單的html檔案。
<div class="title">Laravel 5</div></div>
這就是首頁看到的 Laravel 5
試著自己做一個
在routes.php當中加入下面程式碼
Route::get('hello', function () {
    echo "Hello there!!";
});
打開( http://localhost:8000/hello )可以看到

就是這麼簡單。
我們再來修改一下
將原有程式碼改為下面程式碼
Route::get('hello/{name}', function($name){
    echo 'Hello There ' . $name;
});
打開( http://localhost:8000/hello/henry )可以看到

網址中的henry可以隨意更改成自己要的字串,並得到不同的結果,由此可以清楚明白,我們可以藉由網址輸入參數。
進階
這次我們輸入以下程式碼
// 第一個Route
Route::post('test', function(){
    echo 'POST';
});
// 第二個Route
Route::get('test', function(){
    echo 'GET';
});
// 第三個Route
Route::put('test', function(){
    echo 'PUT';
});
// 第四個Route
Route::delete('test', function(){
    echo 'DELETE';
});
打開( http://localhost:8000/test )可以看到
GET
這時會出現第二個Route中的GET, 因為只有他是用get方式取得的資料。
- POST
假使我們在當中加入一個送出按鍵,使用post方式傳送。
修改程式碼為
Route::post('test', function(){
    echo 'POST';
});

Route::get('test', function(){
    echo '<form method="POST" action="test">';
    echo '<input type="submit">';
    echo '</form>';
});

Route::put('test', function(){
    echo 'PUT';
});

Route::delete('test', function(){
    echo 'DELETE';
});
這時重新整理資料會有個按鍵,按下後會出現。
POST
此時顯示的就是第一個路由器的方法了。
- PUT
那其他的方法呢?
修改程式碼添加
echo '<input type="hidden" value="PUT" name="_method">';
在表單中,表示要使用的是PUT方法。
Route::post('test', function(){
    echo 'POST';
});

Route::get('test', function(){
    echo '<form method="POST" action="test">';
    echo '<input type="submit">';
    echo '<input type="hidden" value="PUT" name="_method">';
    echo '</form>';
});

Route::put('test', function(){
    echo 'PUT';
});

Route::delete('test', function(){
    echo 'DELETE';
});
此時打開( http://localhost:8000/test )按下送出。 就會出現
PUT
此時顯示的就是第三個路由器的方法了。 delete以此類推。
查看所有路由
因為到最後都會很多路由,如果不知道設定的路由是否成功 可以使用(CMD)查詢所有可連線的路由方法詳細資料
//在CMD輸入
php artisan route:list